In Part 4, you configured the import of the sample file. You will now see how to convert the text file to a WHONET file with this new configuration. You will also see how to check whether the configuration is working and define any of your local data codes that WHONET doesn’t recognize.
Starting the conversion
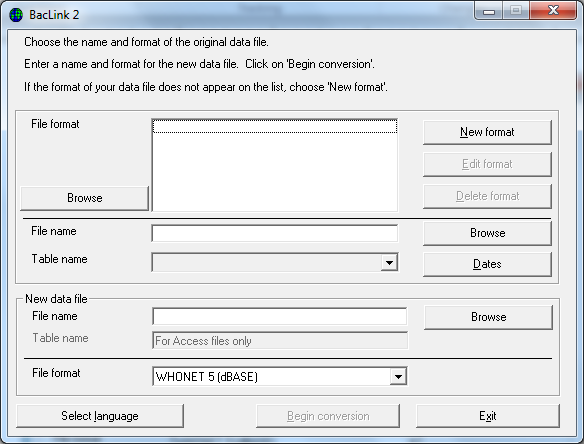
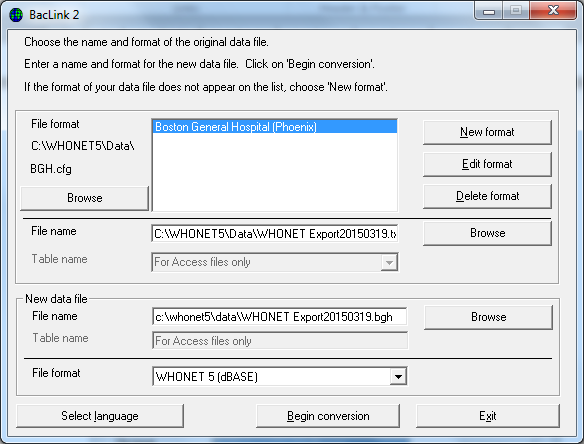
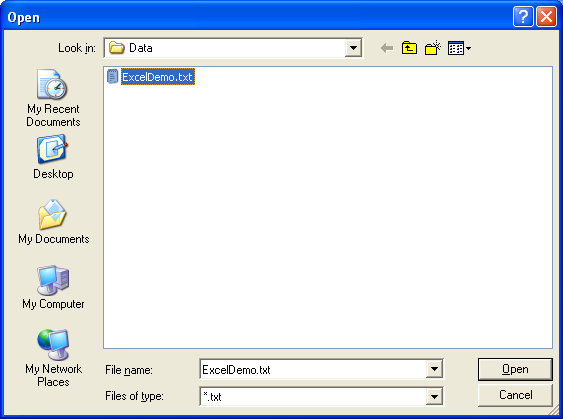
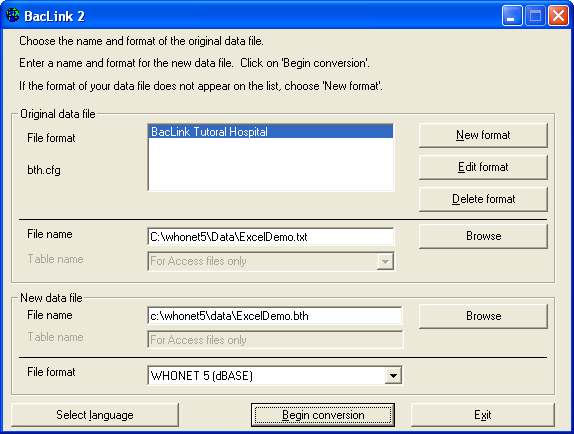
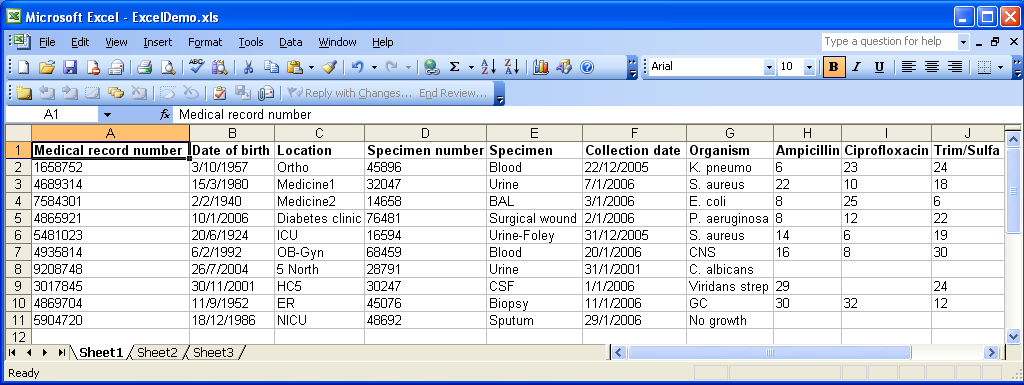
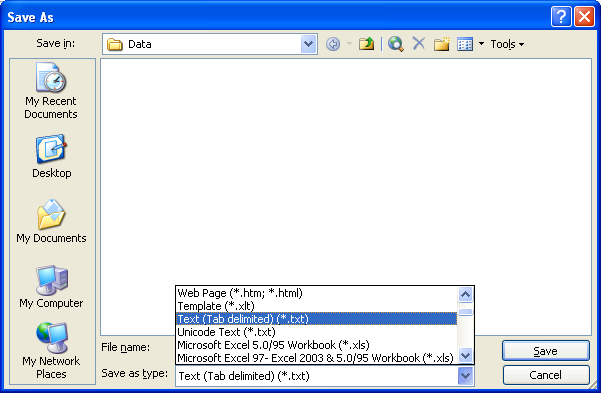
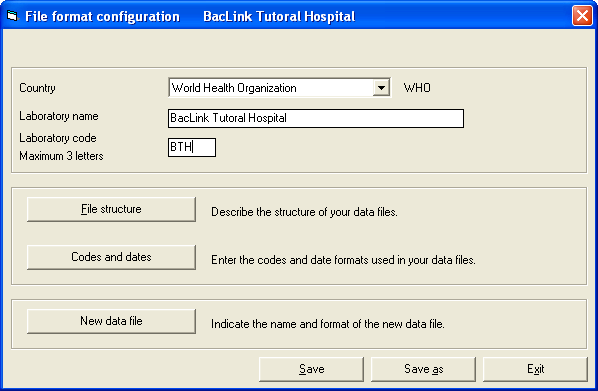
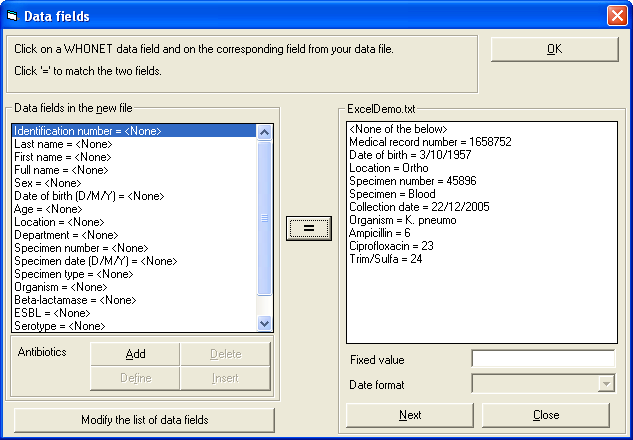
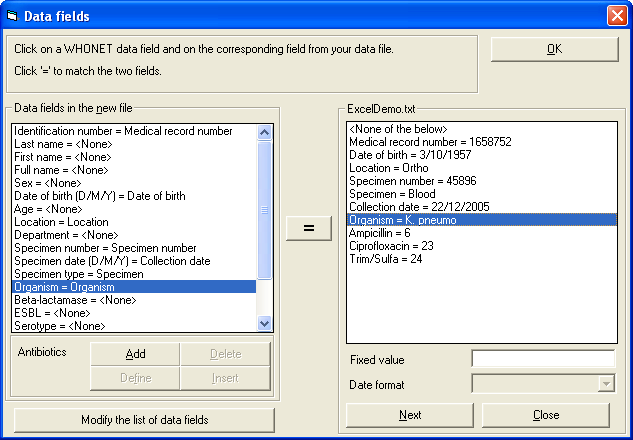
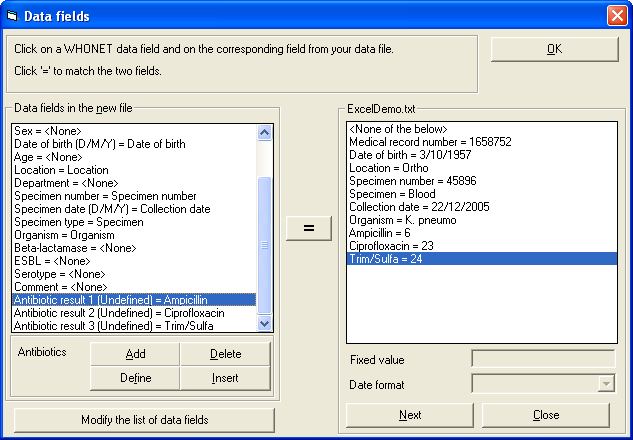
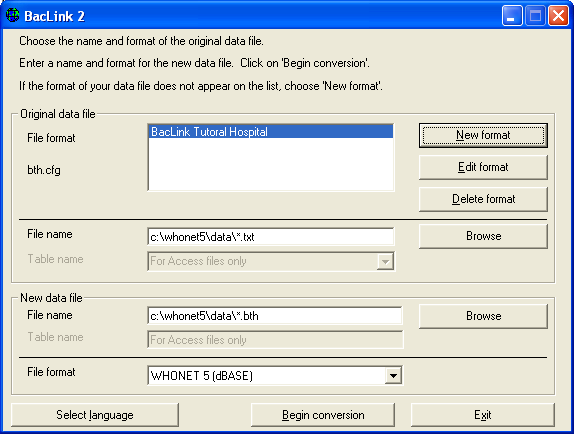
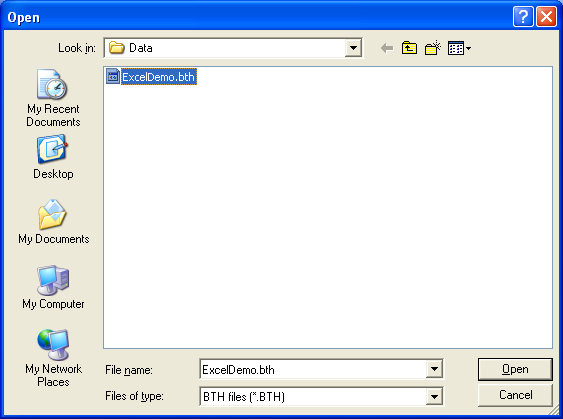
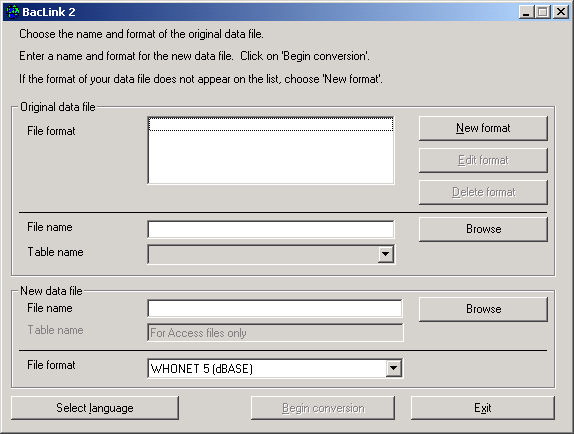
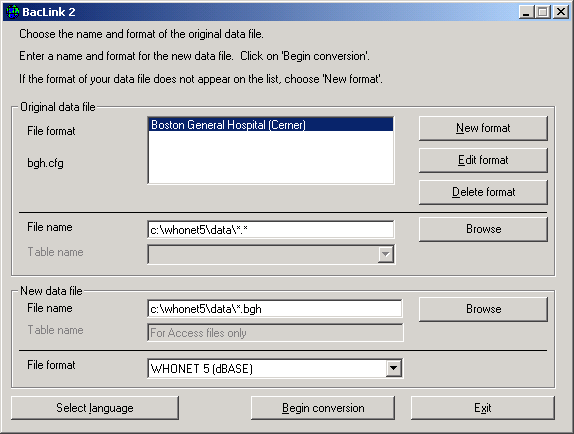
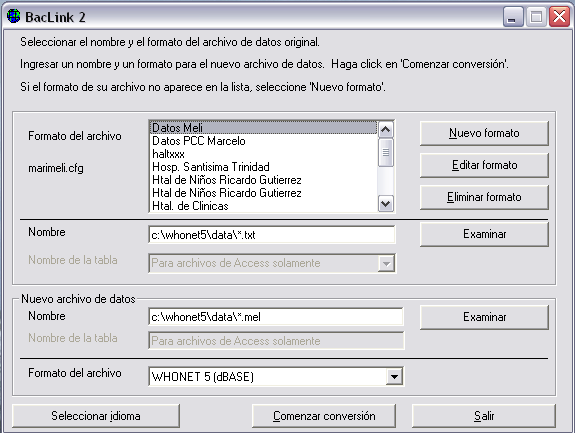
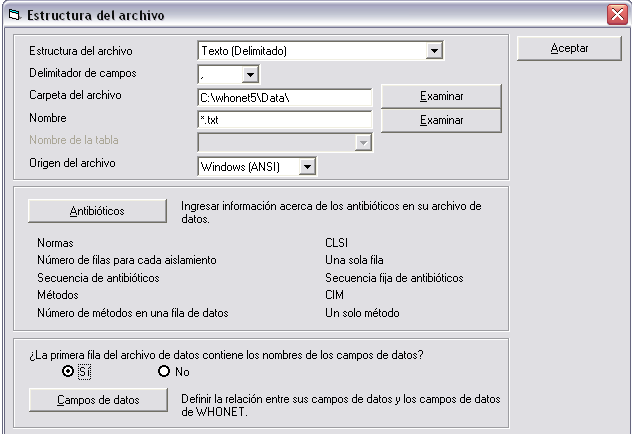
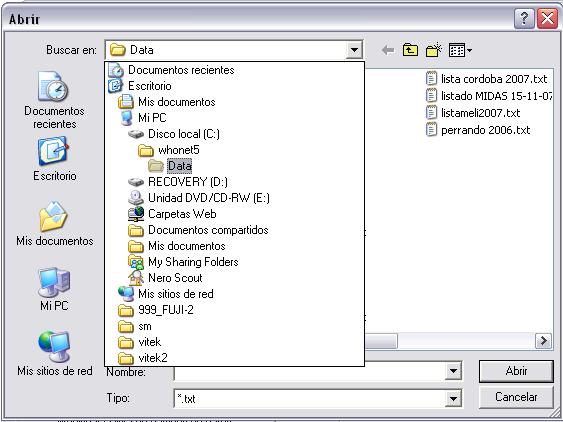
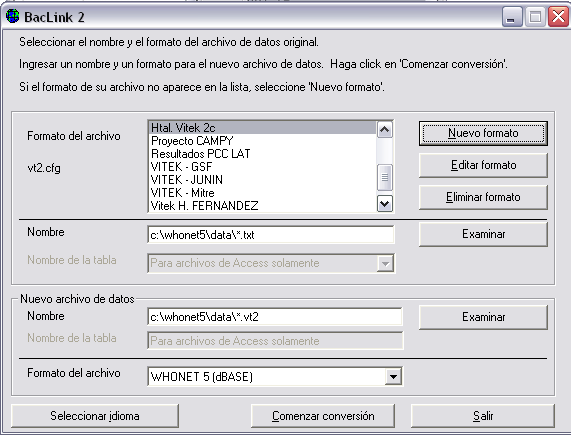
Original data file: Click on the File format for “BacLink Tutorial Hospital” that you configured in the previous step. In the upper box called “File name” click on “Browse” to select the file “ExcelDemo.txt”.
New data file
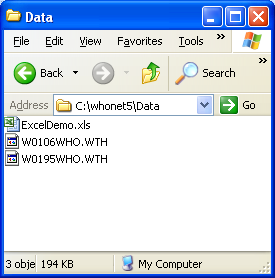
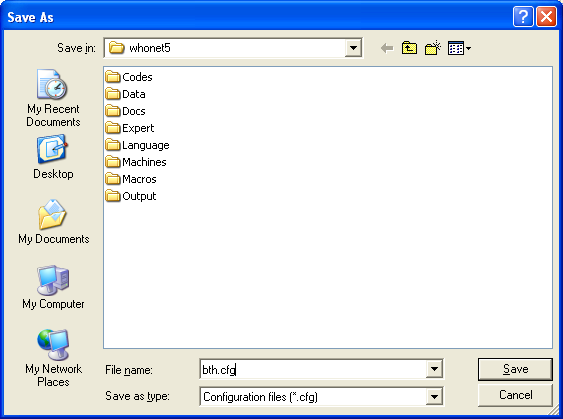
In the lower box, you need to indicate the name of the new WHONET file that you are about to create. For this tutorial, give the file the name: “ExcelDemo.bth”. You can give the new file any name that you like, but it will be convenient for your data file management if all of your data files end with the three-letter code that you gave to your laboratory, in this tutorial “bth”.
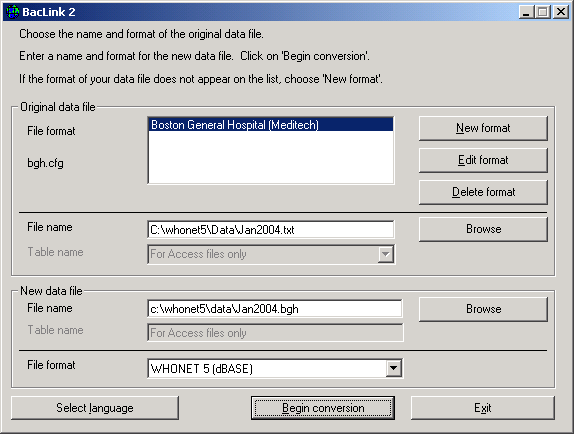
If you did these steps properly, your screen should look like the following.
Inspecting the conversion
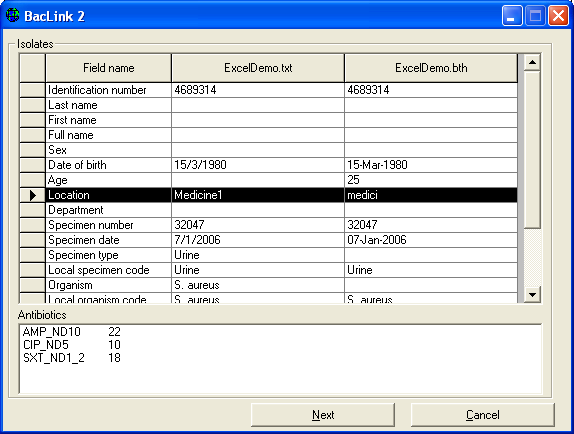
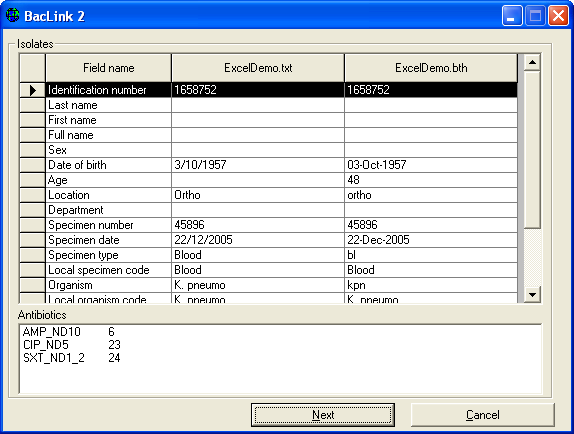
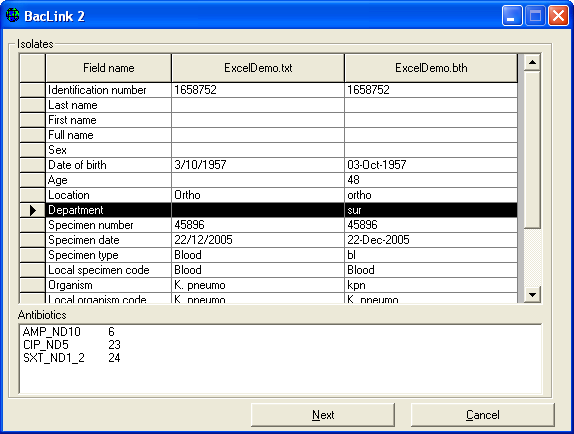
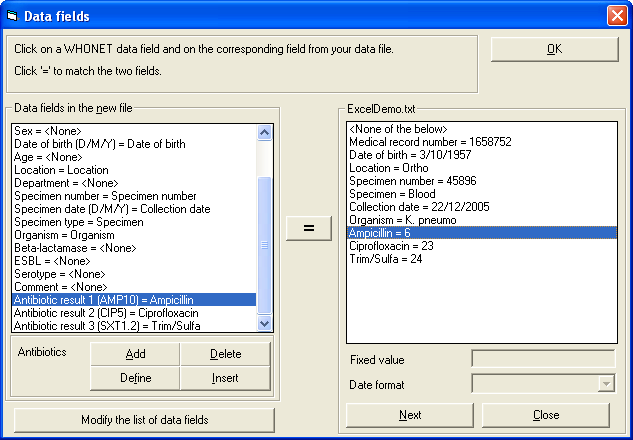
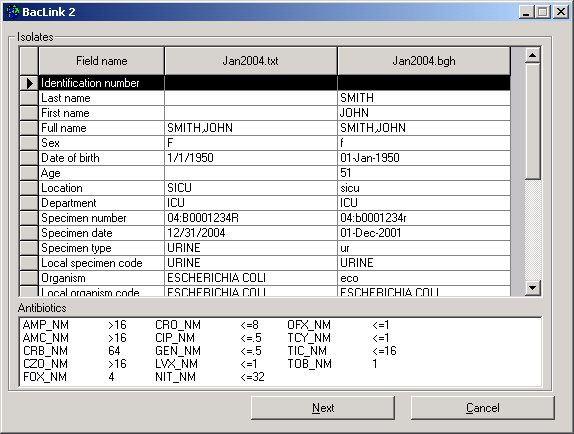
Click on “Begin conversion”. BacLink will display for you results from the conversion of the first three isolates in the original data file. The purpose is to allow you to visually inspect the accuracy of the conversion. On the below screen, you see results from the first isolate. First focus on the middle column to see whether BacLink is reading the data values correctly, and check the final column to see whether BacLink is converting the data values correctly.
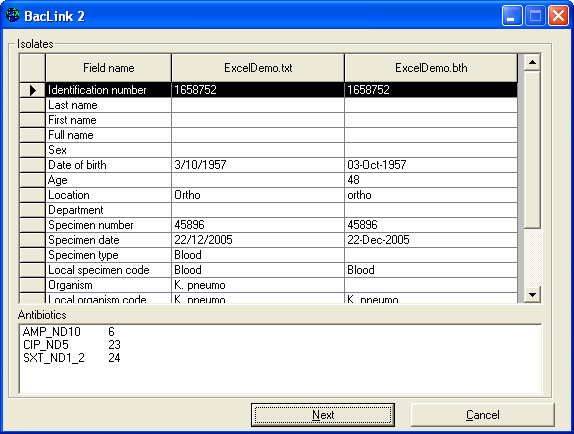
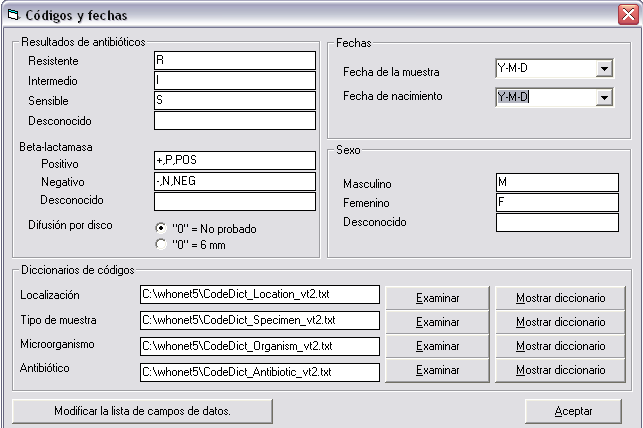
For this first isolate, there seems to be no problem with Identification number, Location, Date of birth, and Specimen number. There also appears to be no problem with Specimen date – you should always check the reformatting of the date to ensure that you have selected the correct date format (D/M/Y, M/D/Y, MMDDYYYY, Y-M-D, etc.). You will also notice that BacLink calculates the patient’s age using the date of birth and specimen date fields.
For Organism, you will notice that there are two similar rows: “Organism” and “Local organism code”. The first of these if intended for the WHONET organism code, while the second is intended to save the original organism code from you data file without modification. Since you have not yet defined the correspondence between your local code and the WHONET code, the first of these two rows is blank. The situation with Specimen type is similar. In the row “Specimen type”, BacLink leaves the WHONET field blank because it does not know what the corresponding WHONET code is for “Blood”. In the row “Local specimen code”, the original entry is copied over. Finally, in the lower box, you will see that BacLink was able to transfer the antibiotic results correctly.
So from this first record, we can conclude that BacLink is reading the data file correctly, and is saving most of the information into the new WHONET file accurately. However, BacLink has difficulty with the organism and specimen type fields because the codes have not yet been defined. If you think you may have made a mistake in your configuration, click “Cancel” and return to “Edit format” to make the correction. Otherwise, click on “Next” to proceed with the second isolate.
In the second isolate, you will notice a small problem that did not appear with the first isolate. The location code “Medicine 1” has been abridged to “medici”. This is because the default length of the location field is 6 characters. This will be easy to fix later by changing the field length to a larger value.
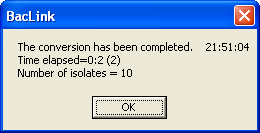
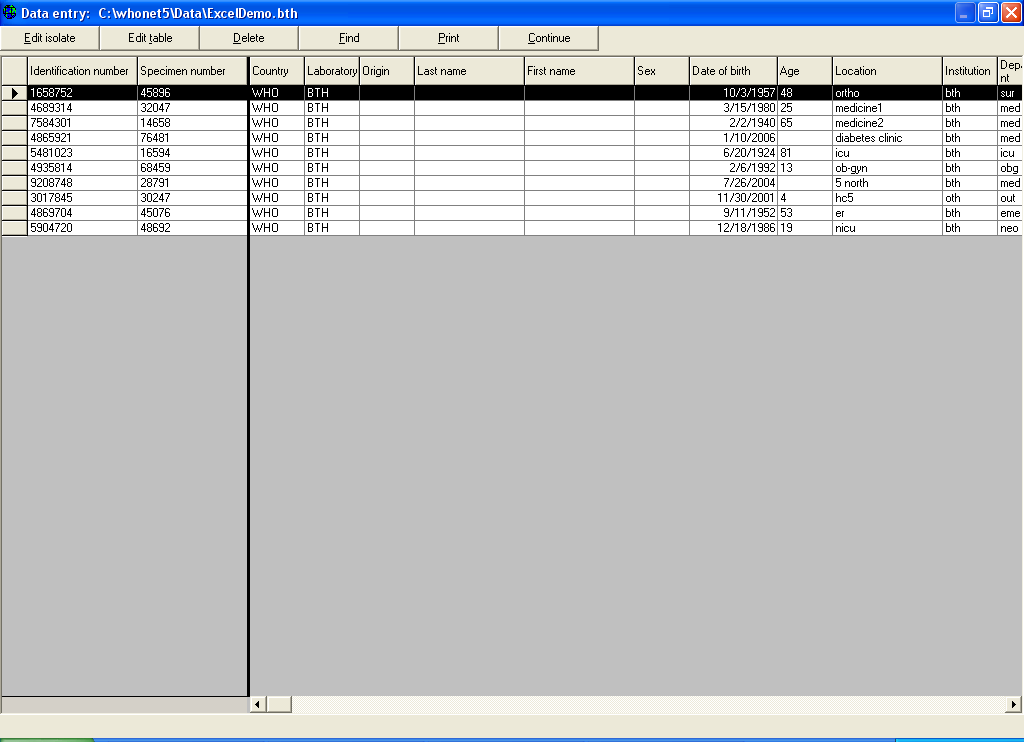
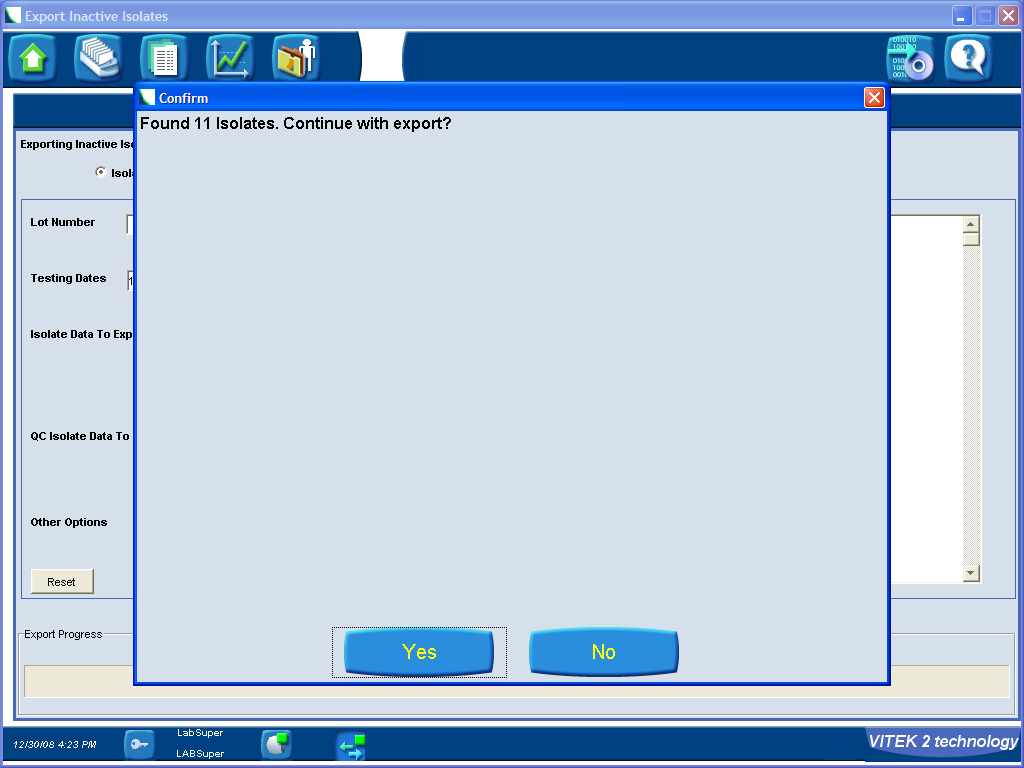
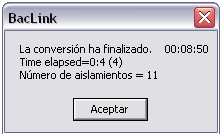
Click on “Next” to see the third isolate, and then “Next” again. BacLink will now proceed to finish the conversion of the rest of the data file. BacLink will tell you how many isolates it converted – 10 isolates in this tutorial. Click on “OK” to continue.
You do not need to enter an exhaustive list. Just indicate the most common or important responses for purposes of standardizing data entry.
Defining unrecognized codes
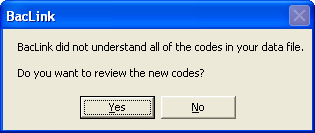
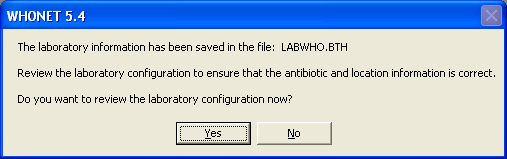
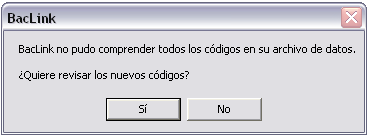
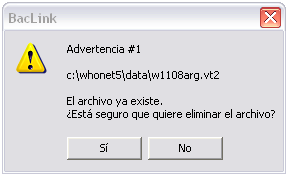
When the conversion is finished, BacLink may alert you that it encountered some codes that it did not recognize. In this tutorial, you should see the below message. Click “Yes”.
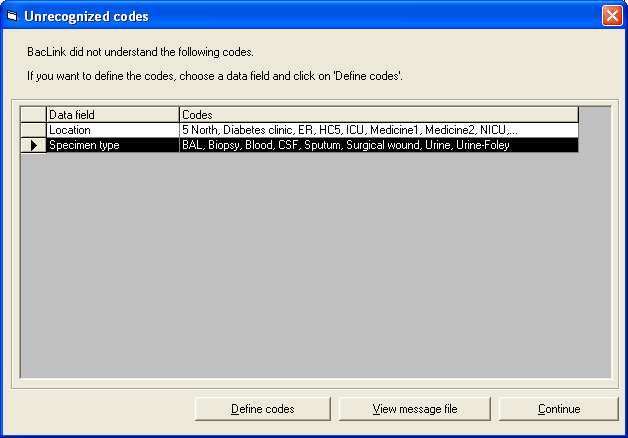
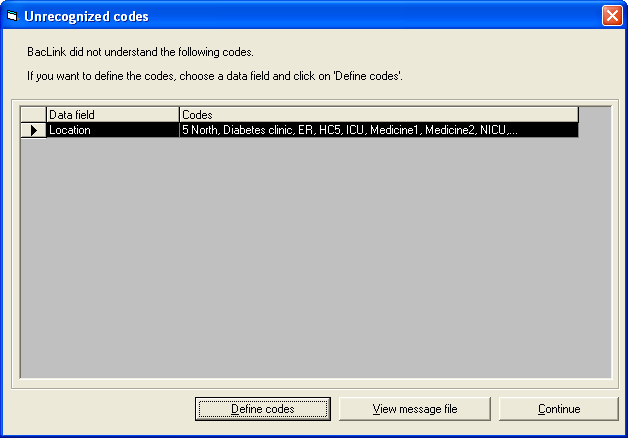
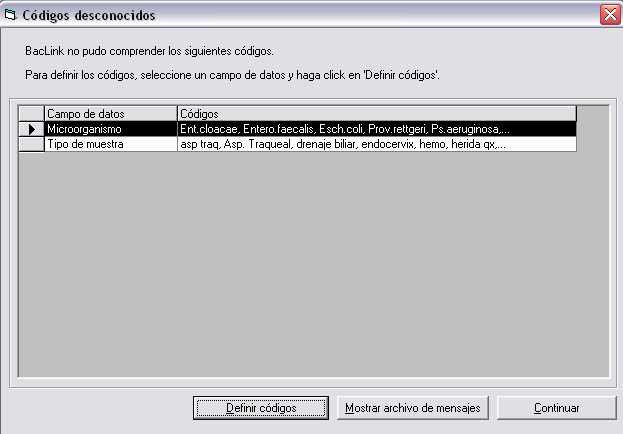
BacLink will show you a summary of all of the different codes that it did not recognize, as in the below screen.
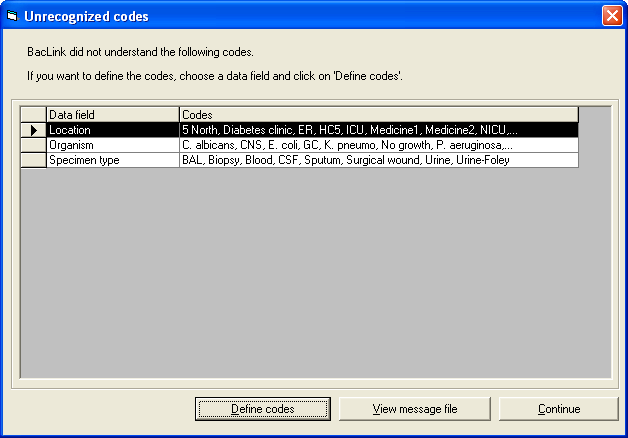
In this tutorial, BacLink indicates that there are unrecognized locations, organisms, and specimen types. We won’t worry about the locations at this point until the problem with the field lengths is fixed (from six characters to a larger value).
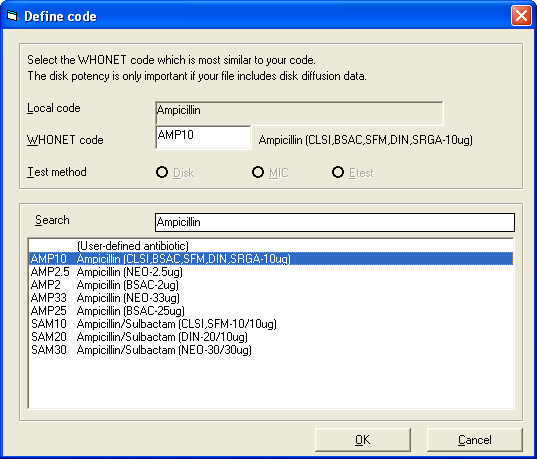
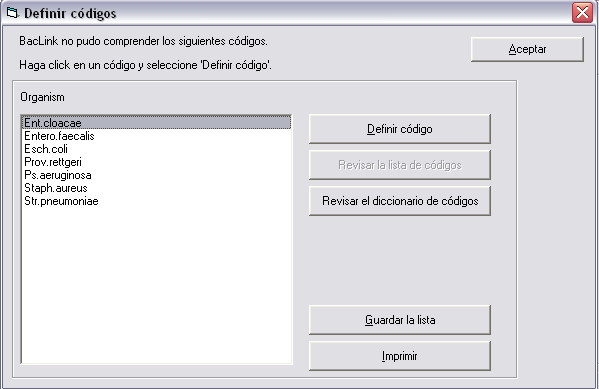
Click on the row “Organism”. Now click on “Define codes” to see the following screen with a list of all of the unrecognized organism codes/text.
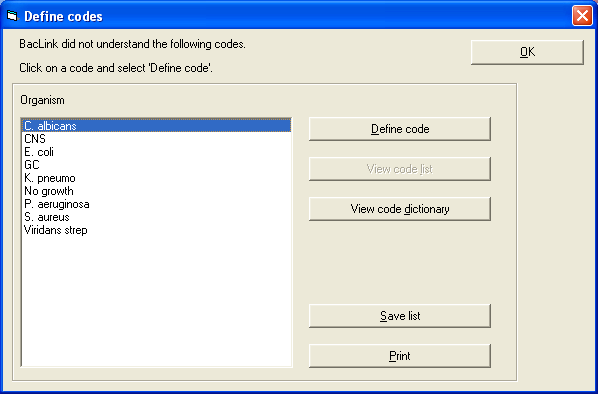
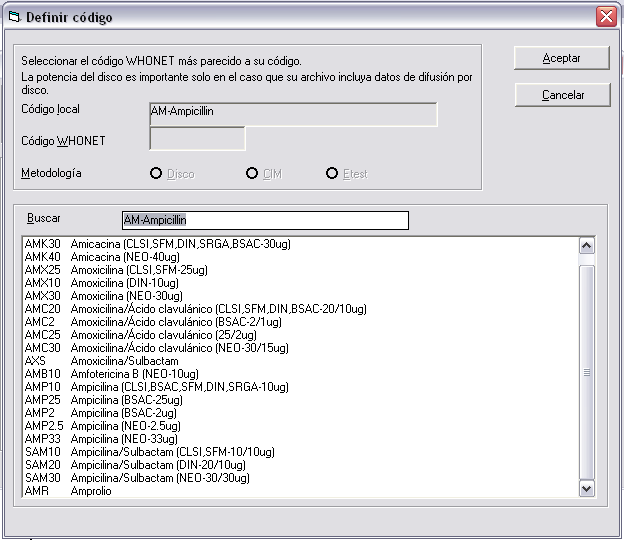
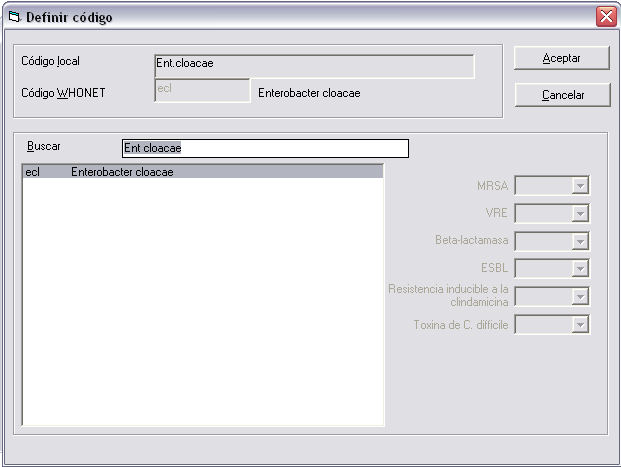
Click on the first organism “C. albicans” and “Define code”. BacLink will now suggest a number of possible matches for this organism. If you see the correct match, click on the organism and click “OK”.
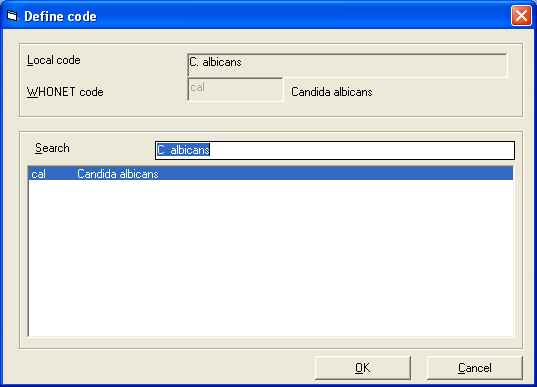
If you do not see the organism listed, then use the search box to look for the correct organism. For example, instead of “CNS” or “Coagulase-negative staphylococci”, WHONET has an entry “Staphylococcus, coagulase-negative”. To search for an organism, type one or more letters of the genus name and one or more letters of the species name, for example type “Staph coag” to find possible matches for “CNS”. For “GC”, you should do a search for something similar to “Neiss gon”.
After you match the first organism, continue to match all of the rest of the organisms. If you cannot find an appropriate match, you can call the organism “Other” or you can leave it undefined. Then click, “OK” to return to the list with the other undefined codes. You will see that the organism row has disappeared because all of the organisms have been defined.
Note: If you have a very long list of codes, there is no need to define all of them. Begin with the most common or important ones. If you do not define a code, WHONET will leave the corresponding WHONET field blank, but will still save the original organism code in the column “Local organism code”.
Click on the row for “Specimen type” and “Define codes”.
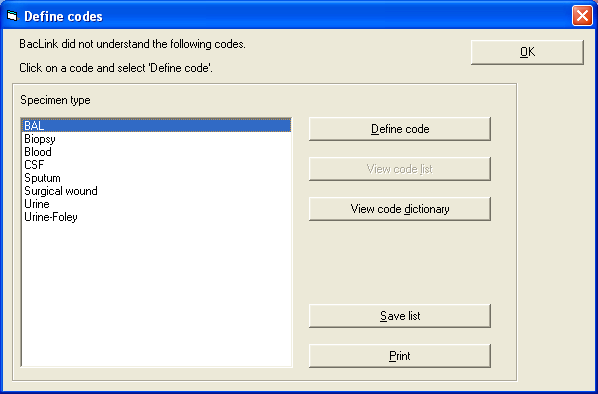
Define the specimen types one at a time, finding the closest match on the WHONET list. When you finish matching the specimen types, click “OK” to return to the remaining list of unrecognized codes.
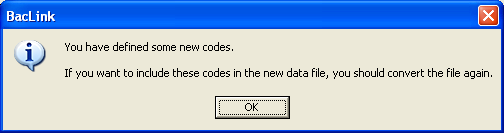
Since we will define the locations later, click “Continue”. BacLink then warns that you have defined some additional codes that were not included during the conversion. Click “OK” to return to the main BacLink screen.
Running the conversion again...
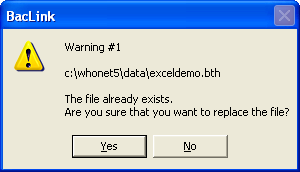
Now that you have matched some of your codes with the appropriate WHONET codes, run the conversion again. Click on “Begin conversion”. BacLink will give you a warning (Warning #1) that the WHONET file that you want to create already exists, and asks whether you want to replace it. Answer “Yes”, since the first time was just an initial test.
BacLink will then ask again (Warning #2) just to make sure that you read the question. Answer “Yes” again.
You will now see the first isolate again, but this time with the appropriate WHONET organism and specimen type codes indicated. So this conversion is more complete than during your first attempt.
Click “Next isolate”, and you will see that the problem with the length of the location code field still persists (“medici” instead of “medicine 1”). Click “Next” and “Next” again to finish the conversion. BacLink indicates that it converted ten isolates. Click “OK”, and answer “Yes” to the question about the unrecognized codes. This time, you will see that the list of unrecognized codes is much shorter than before. Only the locations remain to be defined. Click on “Continue” to return to the main BacLink screen.
Editing the configuration
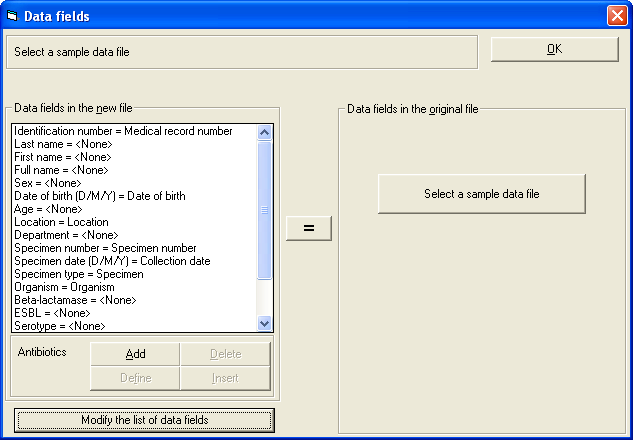
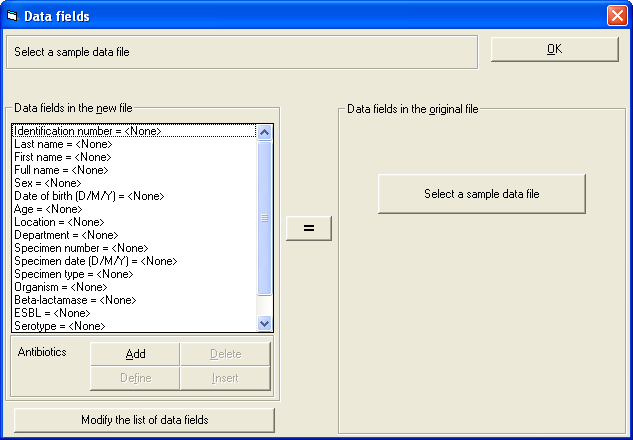
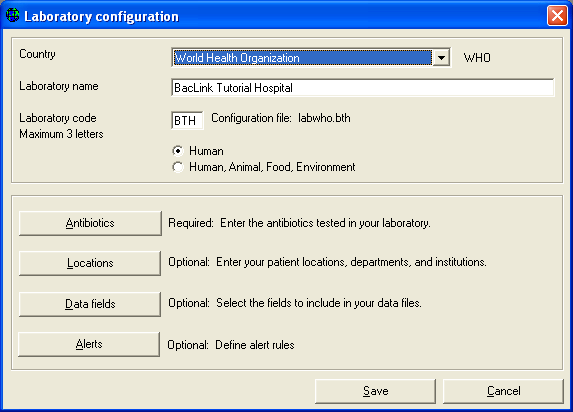
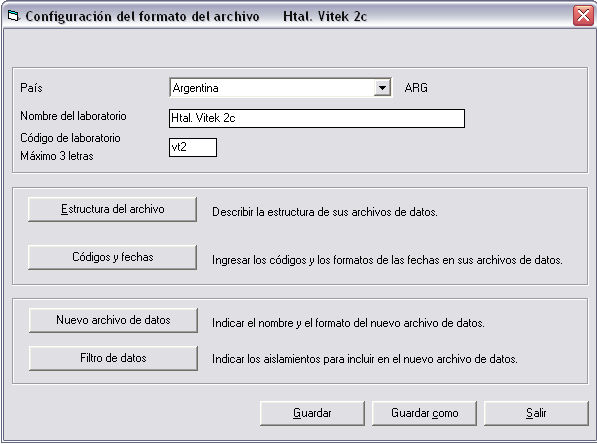
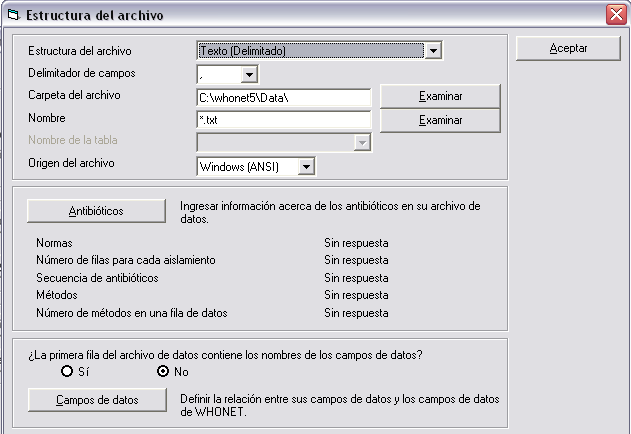
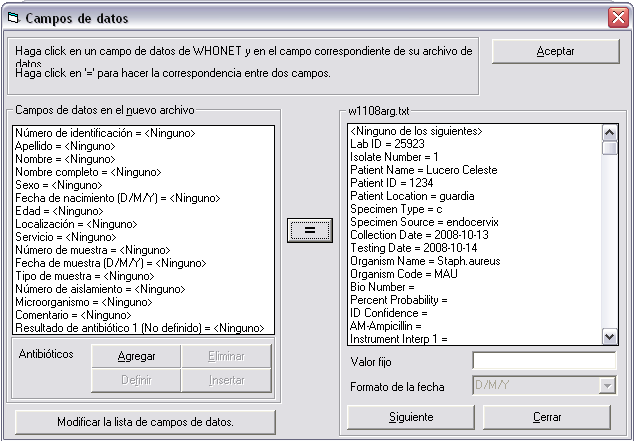
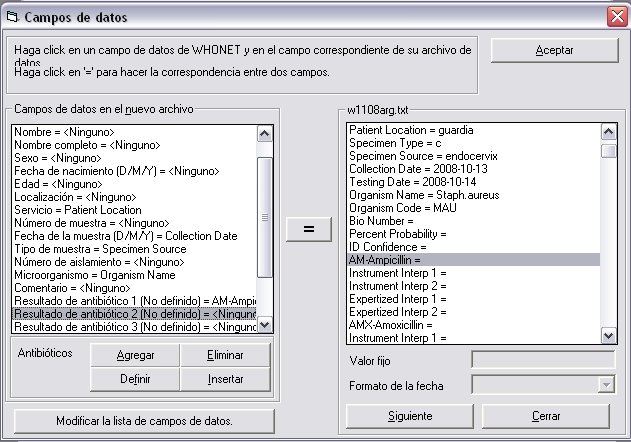
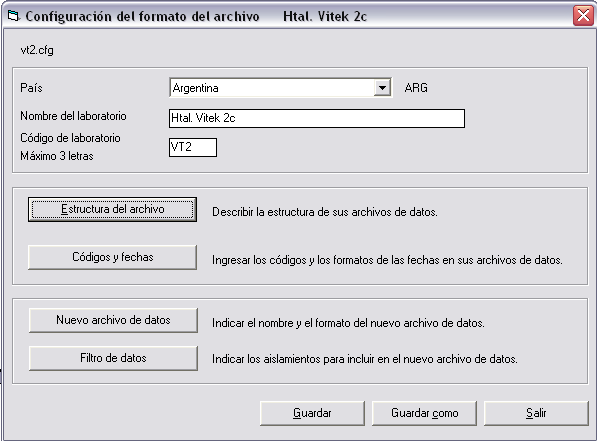
The conversion is working in most respects with the exception of the location codes which are being shortened to six characters. This is easy to fix. Click on “Edit format” from the main BacLink screen to return to the configuration part of BacLink. Click on “File format” and “Data fields”. This will return you to the screen in which you defined the matches between the fields in the Excel data file and in WHONET.
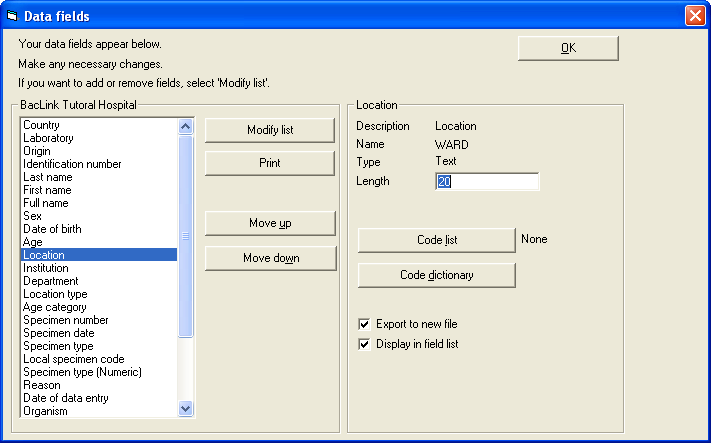
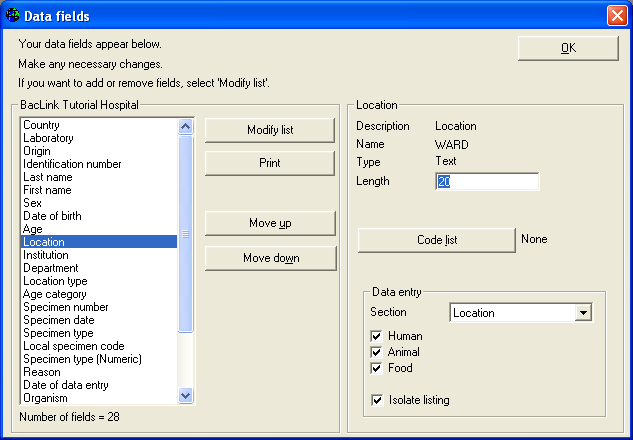
Click on “Modify the list of data fields”. You will see the following screen. From this screen, you can configure the current fields, add additional ones to the list, and delete fields that you do not need. Click on the option “Location”. On the right side of the screen, you will see that this length of this field is set to 6 characters. Change this to 20.
Then click “OK”, “OK”, “OK”, “Save”, and “Exit”. This should return you to the main BacLink screen.
Running the conversion again...
Click on “Begin conversion”. Answer “Yes” and “Yes” again to replace the current WHONET file. BacLink will show you the first isolate, but this is unchanged from before. Click on “Next’ to see the second isolate. You will now notice that the location “Medicine 1” is being correctly being saved as “medicine 1”.

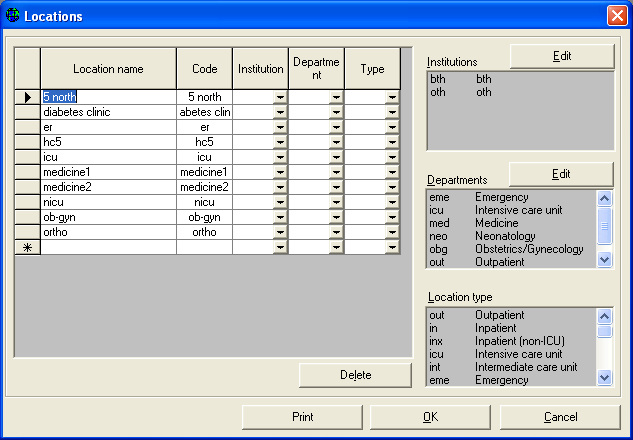
Then continue with the rest of the conversion until you see the list of unrecognized codes. Click on “Location” and “Define codes”.
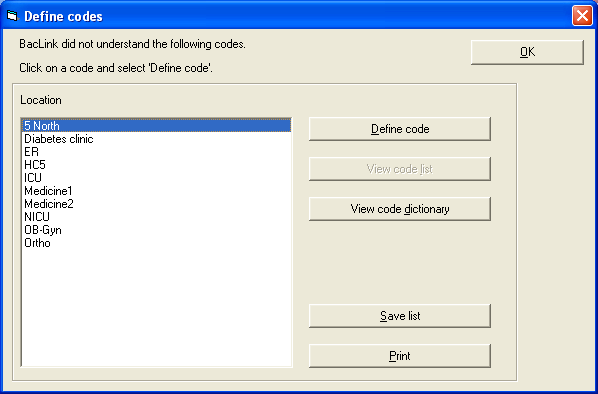
For the first item on the list, click on “Define code” to get the following screen.
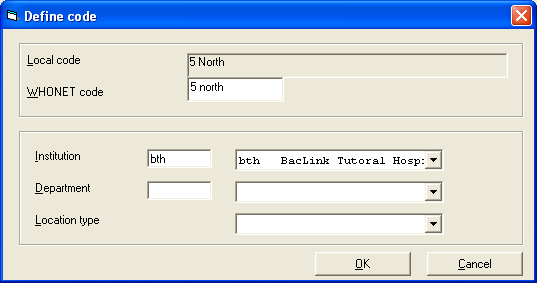
You will notice that defining location codes is different from defining organism, specimen, and antibiotic codes. For the latter three, WHONET has a standard list of codes used by all laboratories with WHONET. For location codes, WHONET simply uses the same code that your laboratory uses.
Defining your location codes serves a different purposes – it allows you to describe the details about the location to BacLink, for example which department/specialty, whether the location is in an inpatient or outpatient area, etc
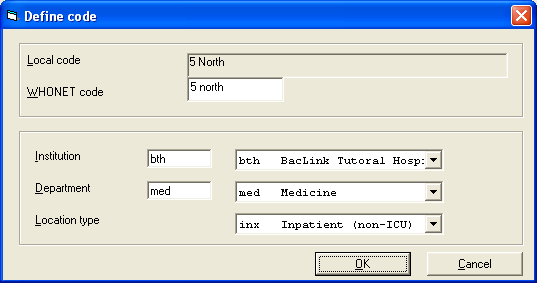
For the first location, “5 North”, choose a department of “med=Medicine” and a location type of “inx = Inpatient (non-ICU)”. Then click “OK”.
Continue defining the other location codes in the manner using the following suggestions:
| Location |
Institution |
Department |
Location type |
| Diabetes clinic |
bth |
med |
out |
| ER |
bth |
eme |
eme |
| HC5 |
oth |
out |
out |
| ICU |
bth |
icu |
icu |
| Medicine 1 |
bth |
med |
inx |
| Medicine 2 |
bth |
med |
inx |
| NICU |
bth |
neo |
icu |
| OB-Gyn |
bth |
obg |
inx |
| Ortho |
bth |
sur |
in |
In this example, HC5 represents a “Health Center #5”, an outpatient clinic outside the hospital.
Defining locations has two important benefits: 1. at the local level, hospital staff will be able to analyze easily data at the level of the ward, department, or inpatient/outpatient status, even if the original data file only had the ward information; and 2. at the national level, defining the location codes permits standardization for purposes of national comparisons and analyses.
After defining all of the location codes, return to the main BacLink screen.
Running the conversion again... for the last time!
Click on “Begin conversion”, and replace the previous WHONET file. Look at the conversion for the first isolate. You will notice that for the location “Ortho”, BacLink is now putting the department equal to “sur=Surgery” because of the location matchings you defined in the previous step.
Then click “Next” and finish the rest of the conversion. When the conversion is finished, BacLink will return you immediately to the main BacLink screen because all of the undefined codes have now been defined.
Congratulations! You have successfully finished a BacLink configuration, defined all of the codes needed by WHONET, and converted a sample data file (ExcelDemo.xls) to WHONET format (ExcelDemo.bth). You can then proceed to WHONET to analyze this file. Click on “Exit” to leave BacLink.
The configuration that you made will be useful for any file that has this same structure. For example, if use your January data file to define your BacLink configuration and codes matches, you can use the same configuration to convert your February, March, etc. data. If BacLink encounters some new codes in the following months, you can define them as they arise over time.

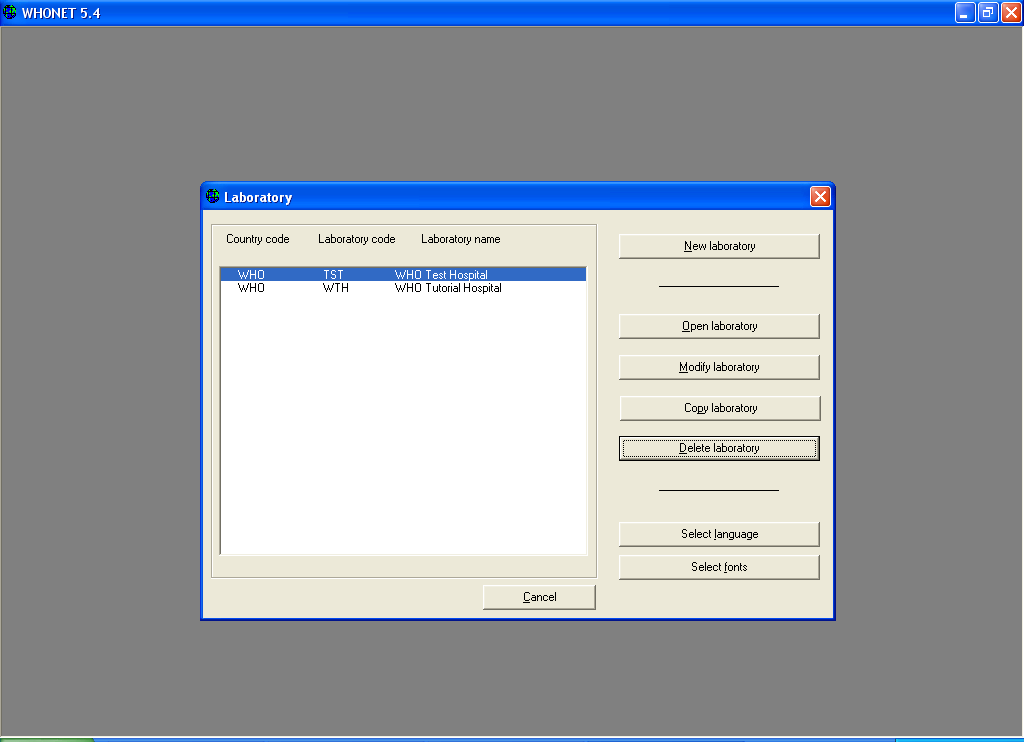


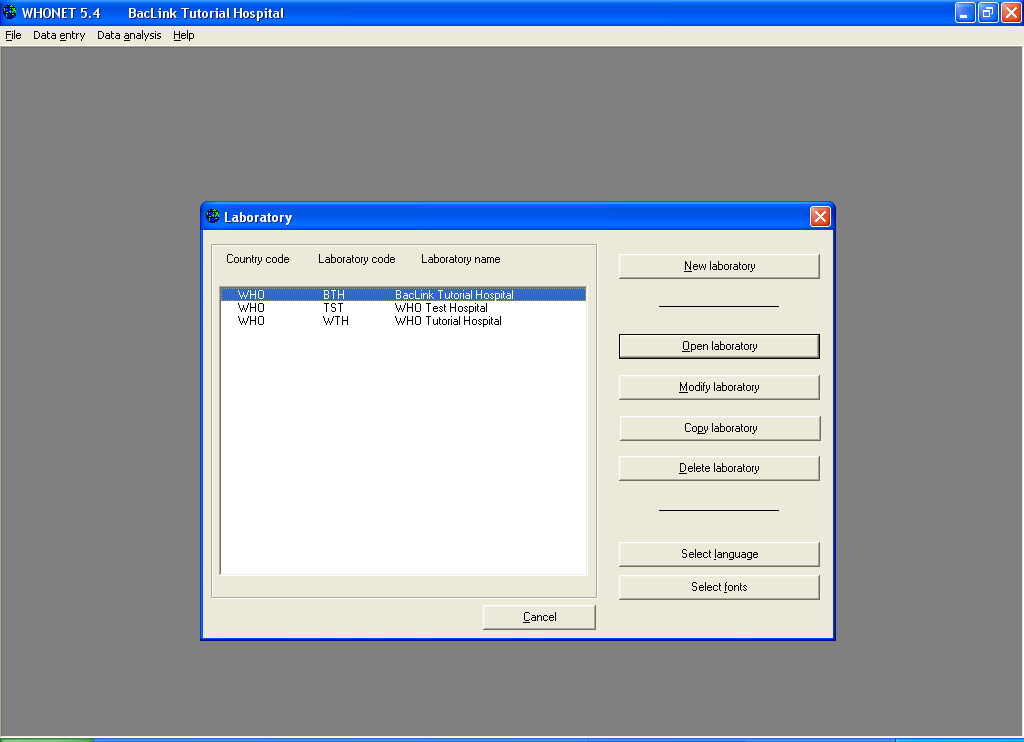


 Press "Cancel" on the first screen.